Changing Your Router or Wi-Fi? Reconnect Your DNS Ad Blocker
Move your DNS ad blocker to a new router or Wi-Fi network, confirm its local address, recreate a reservation, and test one client before sharing DNS.
Written by
DNSAdBlocker Team
The DNSAdBlocker team explains home DNS filtering, setup, and maintenance using product documentation and referenced platform guidance.
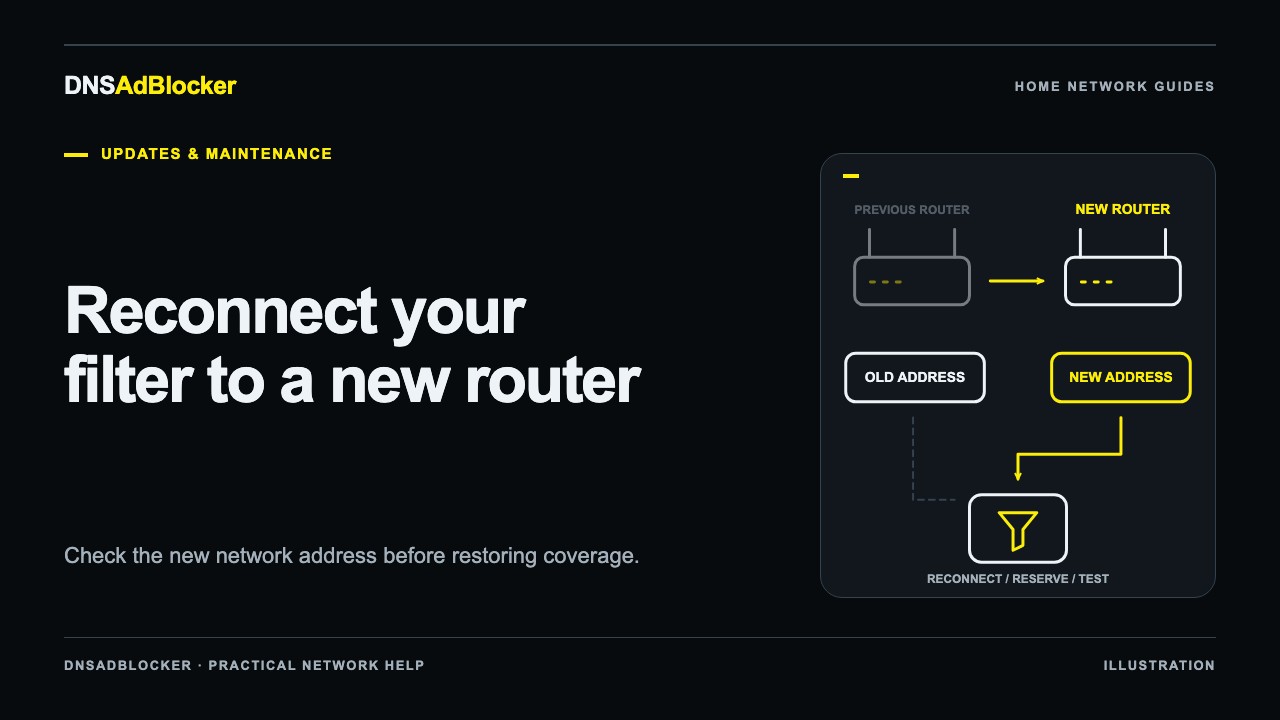
When you replace a router or change Wi-Fi credentials, reconnect the DNS ad blocker first, find its current local address, and test one client before restoring household DNS settings. The new router may use a different subnet or assign a different address, even when you reuse your old Wi-Fi name.
Keep the previous or automatic DNS setting available throughout the move. If phones and computers are still pointing to the blocker's old address while it is offline, an otherwise working internet connection can appear broken.
Record the old setup while it still works
Before disconnecting the old router, save a short network note. Record the blocker's local IP address, the router's LAN address, any DHCP reservation, and where DNS was configured. Include individual phones or computers with manual settings as well as router-level DNS.
Keep device credentials separate from your DNSAdBlocker website password. The local dashboard manages the hardware. The website account manages purchases and eligible rule downloads; signing in there will not reconnect the device to Wi-Fi.
Use this checklist while the old dashboard and router settings are still reachable:
| Record | Why you need it |
|---|---|
| Blocker's current IP and visible MAC address | Identify the unit in the new router's client list |
| Existing DHCP reservation | Recreate a stable address where supported |
| LAN/DHCP DNS settings | Know what the old router advertised to clients |
| Original or automatic DNS recovery setting | Restore internet access while moving the blocker |
| New network name and 2.4 GHz availability | Confirm the unit can join the replacement Wi-Fi |
The DHCP reservation guide explains the difference between reserving an address on a router and manually fixing an address on the device. A reservation saved on your old router does not automatically transfer to a new one.
Check the new network before moving DNS
Confirm that an ordinary phone or computer can use the new router with its default settings. If that connection fails before the blocker is involved, solve the router or internet-service problem first.
The Home DNS Ad Blocker requires 2.4 GHz Wi-Fi and USB power. Check whether the new router makes a suitable 2.4 GHz network available and whether its security settings match the supplied device instructions. A router advertising a combined network name does not tell you everything about compatibility.
Check the new LAN subnet, too. For illustration, a router might change from 192.168.1.1 on a 192.168.1.0/24 network to 192.168.50.1 on a 192.168.50.0/24 network. An old blocker address of 192.168.1.50 should not simply be copied into clients on the second network. Use the address assigned and reserved on the actual new LAN.
Do not remove guest isolation or expose the dashboard to the internet to make it reachable. Start on the trusted main network. The product guide describes the expected local-network arrangement.
Reconnect using the method for your unit
If the new router uses the same Wi-Fi name, password, and compatible settings, the device may reconnect using its saved credentials. Check the new router's connected-client list rather than assuming it kept the old IP. A working reconnection still needs the address and DNS checks below.
When credentials change, use the Wi-Fi reset method identified in the instructions supplied with your unit. The documented device controls support two routes:
- If the local dashboard is reachable: use Forget WiFi and confirm the prompt. This clears the saved Wi-Fi configuration and restarts into setup. Do it before retiring the old network if that is your only way to reach the dashboard.
- If the dashboard is unreachable: the documented BOOT-at-power-on method can clear saved Wi-Fi and enter setup. Use it only when your unit's instructions identify the correct BOOT button and procedure. Do not guess which opening or button on a case performs this function.
Use the setup-network name and access instructions supplied for the actual device. This article does not specify a universal access-point name, password, or button-hold duration. A branded shipping build can differ from another unit described online.
Connect a phone or computer to the device's temporary setup network, open the setup page as instructed, select the new home Wi-Fi, and enter that network's password. After saving, let the device restart and rejoin the home network on your phone or computer. Keep the setup session private and close it when finished.
Wi-Fi onboarding connects the blocker itself. It does not automatically change your router's DNS or reconfigure every household device.
Find the current address and reserve it
Use the new router's connected-client or DHCP-lease list to identify the blocker. Compare its device details with your recorded MAC address where the router displays it. Open the local dashboard at the current address to confirm you found the right unit.
Create a DHCP reservation using a supported address on the new network and the unit's actual MAC address. Follow that router model's instructions about applying the reservation and reconnecting a client. Avoid choosing an address already assigned elsewhere.
If the unit was previously configured with a manual address that cannot work on the new network, use the supplied recovery instructions rather than forcing the old address into unrelated settings. Router menu names, allowed reservation ranges, and whether a reconnect is needed differ by model.
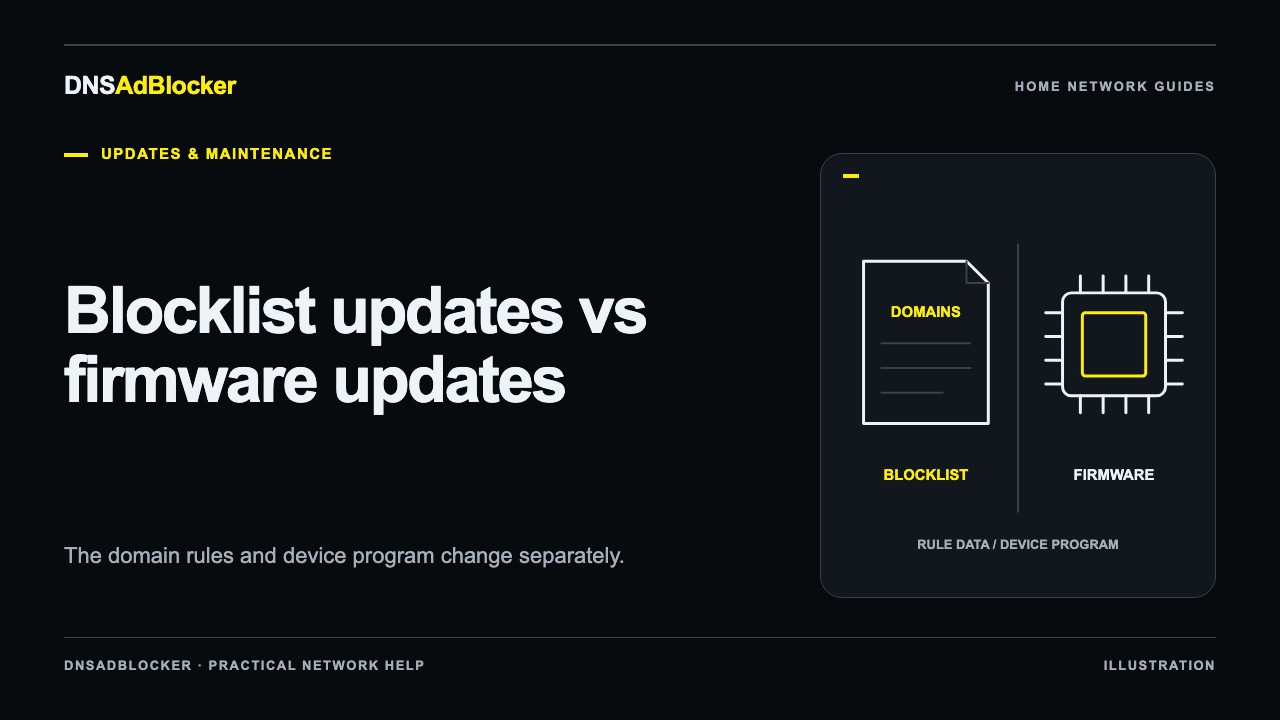
Moving Wi-Fi is not a reason to upload new firmware. Read blocklist updates versus firmware updates if an unrelated download or update suggestion is adding confusion.
Test one client, then restore wider coverage
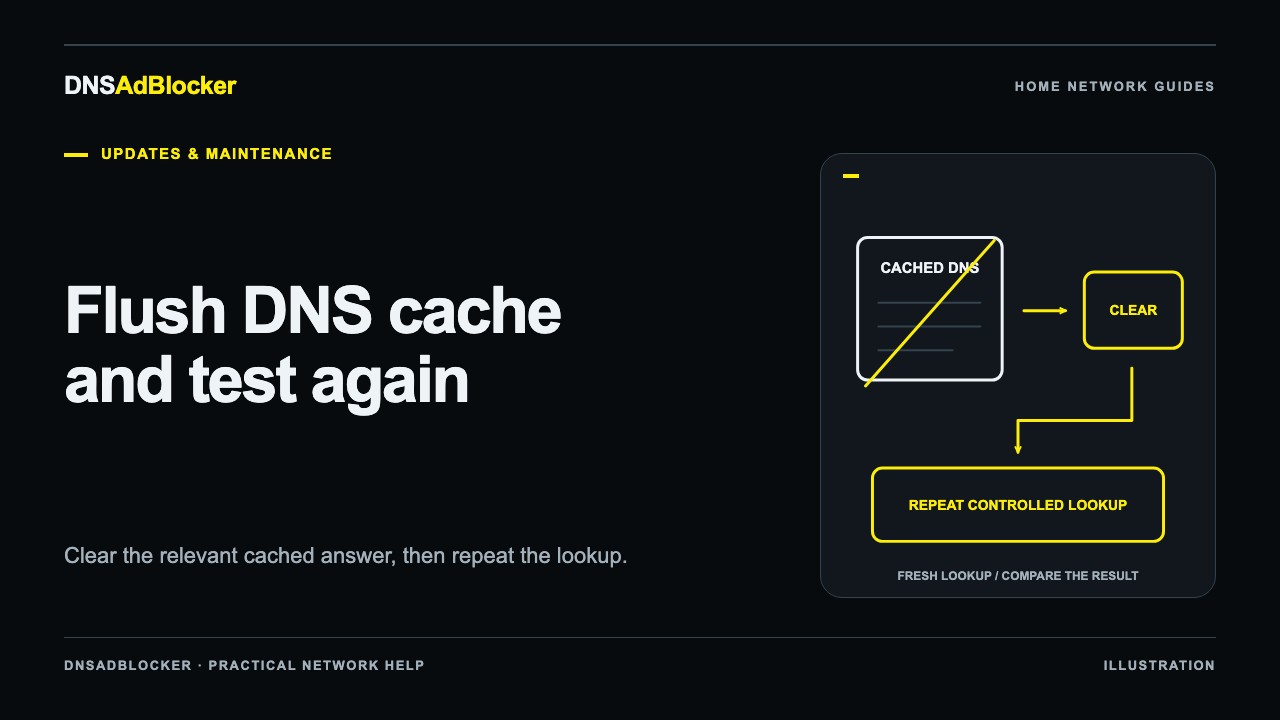
Choose one phone or computer on the new main network. Save its working DNS configuration, point it to the blocker's verified current address, and check an ordinary domain lookup and a domain you expect the filter to block. Compare dashboard request counters during the test, allowing for other background traffic.
Also open the everyday services that matter in your home. A reachable dashboard alone proves neither that DNS requests arrive nor that apps behave as expected.
Once that client works, restore the router's supported LAN/DHCP DNS configuration or update the remaining clients individually. Renew or reconnect clients as required for them to receive new settings. Recheck guest devices and any IPv6 resolver settings separately rather than assuming the old coverage returned automatically.
If the move causes a DNS outage, use restore-access-first troubleshooting. Get one client working with its previous or automatic DNS, then check the blocker without making more network-wide changes.
Check updates after connectivity is stable
A router replacement and a main-list replacement are separate changes. Finish the network move before testing a new rule file so you can identify which change caused a problem.
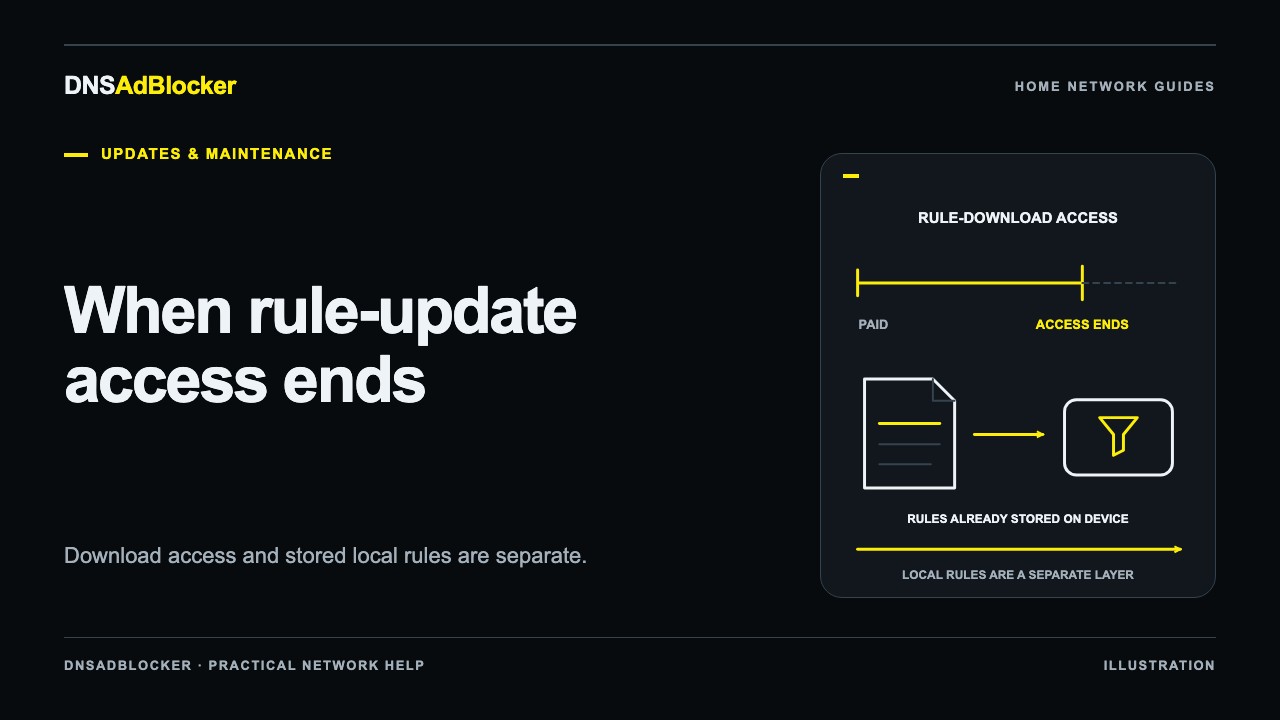
When a compatible file is published and your order qualifies, follow the rule-download and upload guide. Reconnecting to Wi-Fi does not create a new access period, and a website purchase does not remotely repair local network settings.
Sources reviewed
Reviewed October 19, 2026: DNSAdBlocker's product setup guide and service terms, together with the documented Forget WiFi and BOOT-at-power-on controls. These controls describe the software-supported recovery route; follow the supplied unit's instructions for its physical button, setup-network details, and credentials.
Questions or corrections about this content can be sent to support@dnsadblocker.com.
All postsRelated posts
DNS filtering guides, home network setup notes, and product updates.